There are currently different types of motorcycles and scooters on the market that use different types of transmissions. However, the most common types are the belt-driven and chain-driven transmissions. Accordingly, chain-driven transmissions are commonly found on regular scooters and large-displacement motorcycles.
After a period of use, the motorcycle chain often becomes loose and starts to make strange noises if not regularly maintained and checked. Below, we will guide you on how to check and tighten a motorcycle chain to ensure that your vehicle operates smoothly and smoothly.
Why should you tighten the motorcycle chain?
The motorcycle chain is an important component in the power transmission and movement of the vehicle. It is the part that bears the pull force from the engine block to the front sprocket, transmitting it to the rear sprocket to make the wheels rotate during operation. Moreover, motorcycle chains are often made of metal combined with rubber and continuous joints, so after a period of use, the axis joints will become loose, stuck, and directly affect the transmission.
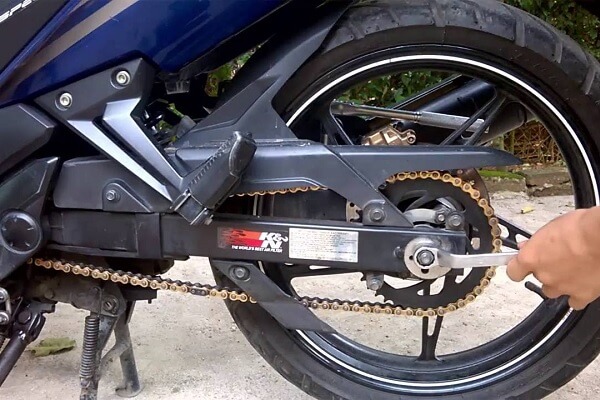
Need to pay attention to and tighten the motorcycle chain regularly
When the chain becomes loose after a period of use, the consequence is that it will sag and make the vehicle operate jerkily. It will also create loud noises when the chain flaps around and is even more dangerous as it can cause the chain to slip off the sprocket. Therefore, we need to regularly check this component and tighten the chain, regularly maintain the chain to ensure that the vehicle operates as smoothly and lightly as possible.
How to check the motorcycle chain
In fact, checking the condition of the motorcycle chain is quite simple with many current models. For models that use an exposed chain without a case, such as scooters, we can observe the condition of the chain with the naked eye. If the chain is too loose and makes a loud noise, it means that this component is loose and needs to be tightened, maintained, and cleaned.
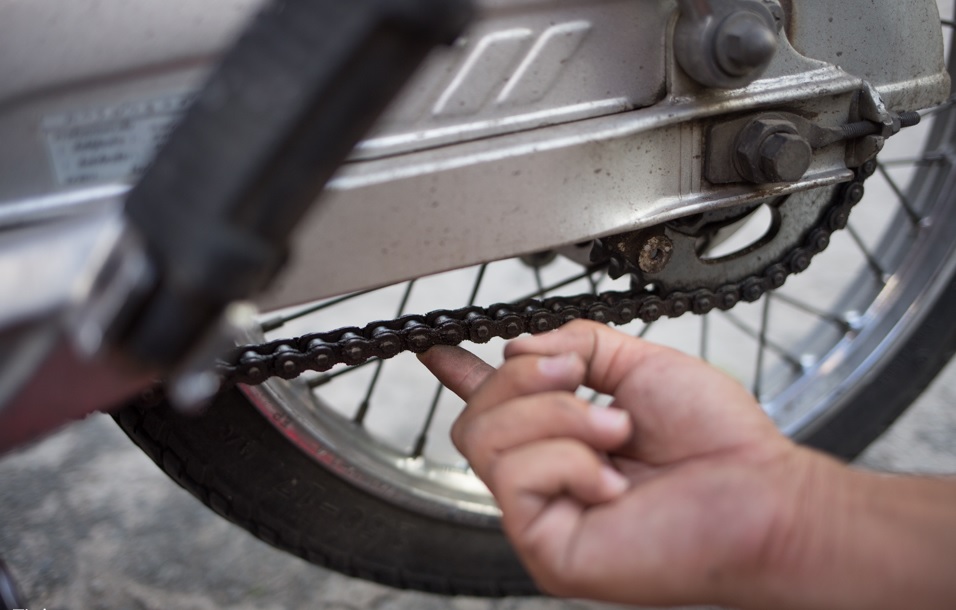
Check the motorcycle chain to know the tension and alignment of the vehicle
For motorcycles with chain cases like Honda Wave, Honda Dream, we can use a wrench to remove the chain case cover to check if the chain is loose or not. Use a wrench or T-shaped wrench to remove the chain case screws to see the tension of the chain. Depending on the motorcycle model, there may be different degrees of tension written on the chain case.
Then, gently turn the rear wheel by hand to see if the chain jumps and lifts up. Check the wear of the sprocket, such as the connecting joints on the chain, to see if they are stiff or not.
If the chain is dirty, loose, stuck, and jumps a lot, we should proceed to tighten the chain and maintain it according to the following method of tightening the motorcycle chain.
How to tighten the motorcycle chain
To tighten the motorcycle chain, the first thing we need to do is to use a properly sized socket wrench for the rear axle nut on the motorcycle, loosen this nut, and the chain clamp nut after setting up the center stand.
After loosening the nuts, we need to use the proper tool to adjust the chain clamp nut. Note that usually with common chain tightening nuts, tightening them clockwise will tighten the chain and counterclockwise will loosen it.
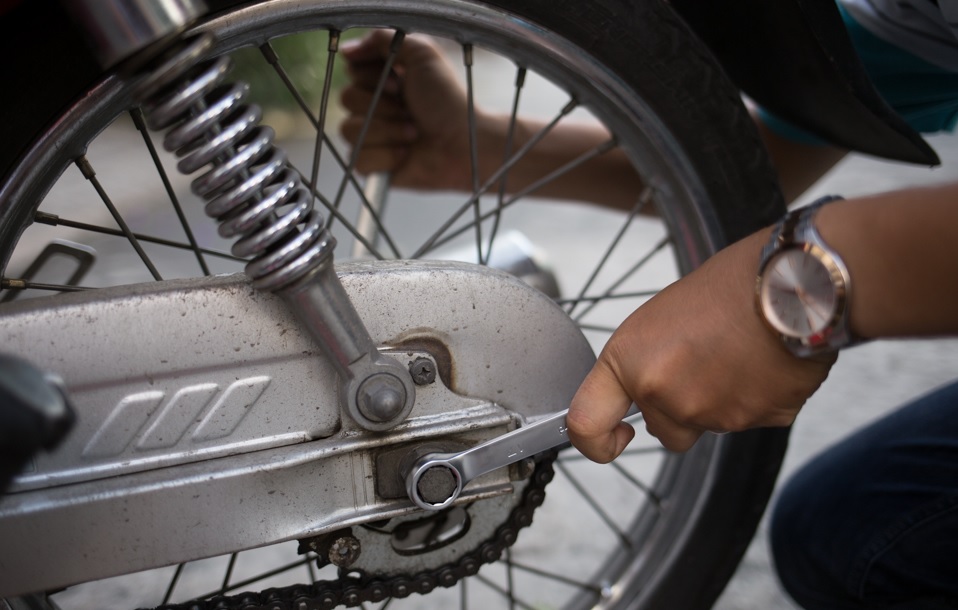
Loosen the front axle nut before tightening the motorcycle chain
On modern motorcycles, on both sides of the motorcycle forks, the position of the rear axle chain tightener usually has a measuring scale with pre-marked lines. We need to adjust both sides to be balanced according to the measurement to ensure that the wheels are not skewed. Note: The chain should not be too tight, but should be tightened to a point where the up and down travel distance of the chain is only about 2 to 3 cm is the best.
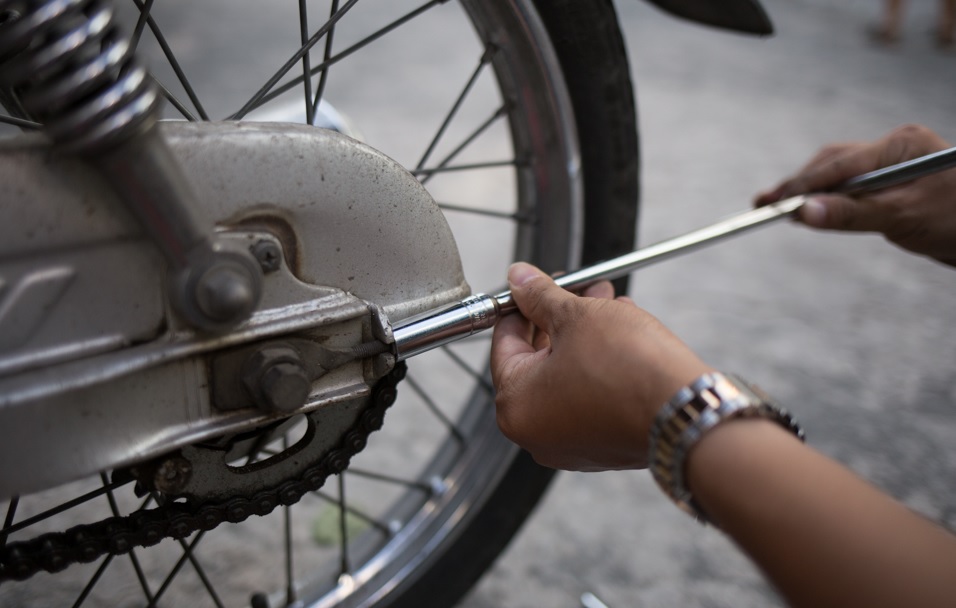
Tighten the chain by turning the rear clamp
After tightening the chain, we need to recheck the operation of this part to ensure that there are no flaws. Use your hand to gently turn the rear wheel, if the wheel rotates evenly, smoothly, and doesn’t feel heavy, then you have tightened the chain correctly.
How to maintain and clean the motorcycle chain
The simplest method of maintaining and cleaning the motorcycle chain is to take it to a motorcycle repair shop for cleaning. However, if you are handy and prefer to do it yourself at home, please note the following instructions.
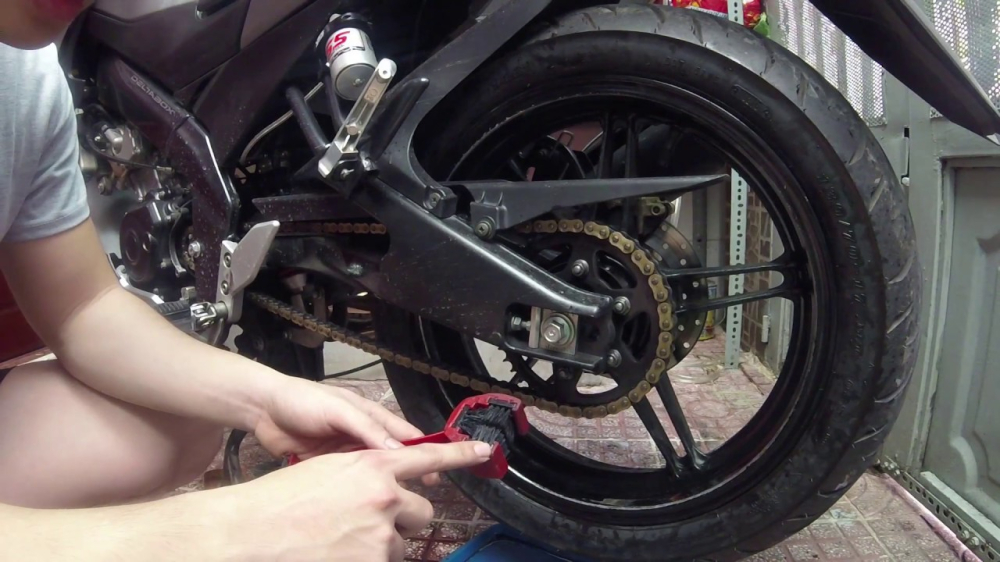
Regularly cleaning and maintaining the chain helps the vehicle move smoothly
Before performing maintenance and cleaning the chain, we need to prepare the following tools:
Kerosene or cleaning solution, toothbrush, oil can: Choose a can with a capacity of 300cc, use an oil can, lubricating oil, or chain spray bottle available on the market.
Next, we proceed to clean the motorcycle chain as follows:
- When the motorcycle is still on the center stand, the chain is in an exposed state without a chain case, pour kerosene onto the chain, rotate the wheel evenly so that this oil can be applied to all surfaces of the chain. Use a toothbrush to clean every nook and cranny, not leaving any area behind, even the sprocket.
- After that, use a spray bottle to spray water on the chain to remove any grease left, then wipe it dry with a clean cloth or use an air gun to blow-dry it clean. Finally, we will lubricate the chain with lubricating oil or spray chain lubricant, applying it to all the gaps, between the chain links, the front and back surfaces of the chain.
Note: There are many effective ways to tighten the motorcycle chain, but during the operation, do not let the engine start and let the wheels rotate while cleaning and maintaining the chain as it can be dangerous and cause injury to the person performing it.
- What to do when the motorcycle battery dies on the road?
- What is a tubeless tire? The advantages and disadvantages of tubeless tires
Kuro


